
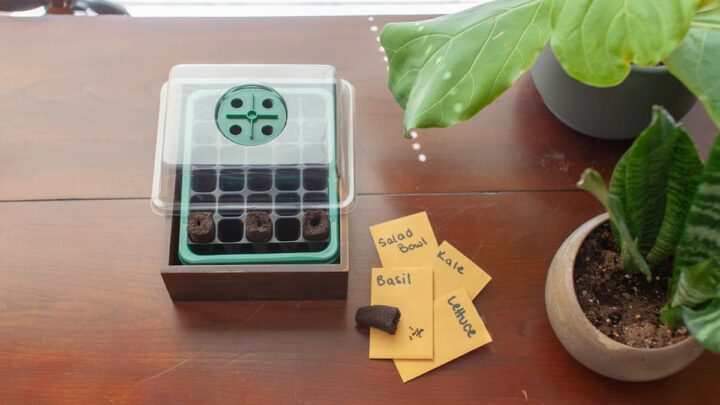
You may have noticed the small, thin, plastic lids that are available near the seed starting trays at your local garden center. These simple lids are called humidity domes and offer a variety of benefits for seed starting, but are they necessary? How do you use them properly?
When do you remove the humidity dome from your seedlings?
Humidity domes should be removed within 24-48 hours after germination. Removing the humidity domes from the seed trays is important once the seedlings begin sprouting. Leaving the humidity dome on too long can cause rot, fungal diseases, and more to seedlings as they emerge.
Read on to learn more about how to properly use humidity domes, the benefits of incorporating them, and if they are necessary for your starting this season’s seeds.

What is a Humidity Dome?
A humidity dome is a plastic lid that attaches tightly to your seed starting tray. This thin plastic acts as a greenhouse, trapping heat and humidity within the tray.
Seeds require a good amount of moisture and a certain temperature to begin sprouting. Incorporating a humidity dome into your seed starting routine allows you some flexibility as you do not need to water your seeds often. The humidity dome will keep the controlled climate within your seed tray at a constant temperature and humidity.
Do I Need a Humidity Dome for Seed Starting?
While humidity domes are a wonderful and helpful tool many gardeners like to implement while seed starting, they are unnecessary. Seeds will and have sprouted well without adding a humidity dome over the seed starter tray.
The humidity dome will speed up sprouting due to the climate it can create within the closed container. However, it is not necessary, and many gardeners experience successful gardens without the use of a humidity dome every year.
What Are the Benefits of a Humidity Dome?
The thin plastic lid that comes along with your seed starter trays is called a humidity dome. While it is not necessary to use a humidity dome, it does help speed up the process of seed starting. There are also many other benefits of using a humidity dome while seeds start.
- Using a humidity dome helps speed up the process of starting seeds as the humidity dome creates a unique climate within the closed container, perfect for seeds to sprout.
- A humidity dome provides extra protection for vulnerable seedlings from predators. If you start your seeds indoors or within a grow room, you probably do not need to worry about hungry birds or rodents looking for snacks. However, these are concerns if you are starting your seeds in a greenhouse or three-season room.
- Using a humidity dome helps increase the number of seeds that sprout successfully into seedlings, increasing your garden yield.

How Do I Use a Humidity Domes?
Now that you know the benefits of using a humidity dome, you may be wondering how to use one. Luckily, setting your seed starting tray up for success with a humidity dome is very simple. You can find humidity domes next to the seed starting trays at your local garden center. Using them is very simple and easy. Follow the steps below to set your seed starters up for success.
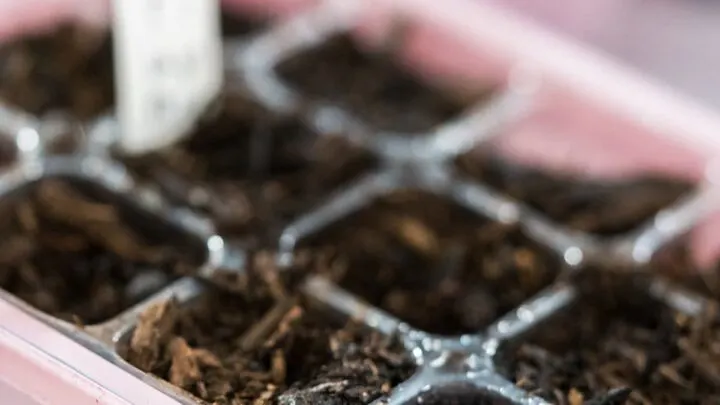
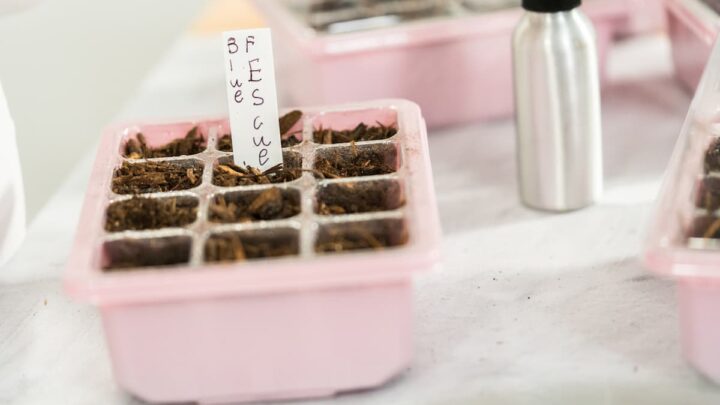
- Fill your seed starter with soil and seeds. You can purchase garden soil and seeds both at your local garden center when you pick up the seed starter and humidity dome.
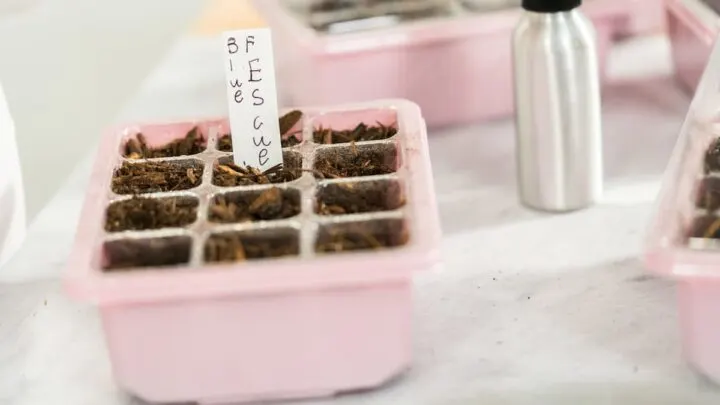
- Give your seeds a good watering. Moisture is vital to help the seeds germinate and sprout into proper seedlings.
- Attach the humidity dome. Snap-on the humidity dome once the soil is moistened well but not overwatered. The humidity dome will keep the climate within the seed starter ideal for seeds to begin to germinate quickly and efficiently.
- Once the seedlings have begun sprouting, remove the humidity dome. If you do not remove the humidity dome when the seedlings come out, it can increase the risk of mold and other bacterial or fungal diseases spreading in the soil.
How to Remove the Humidity Dome
Removing the humidity dome is essential and is not as simple as just lifting the lid off the tray. You have to be careful and follow instructions to not cause any harm to your freshly sprouted seedlings. When it is time to remove the humidity dome, begin introducing your seedlings to fresh circulating air, this can be done in several ways.
The easiest way is to purchase a humidity dome that has vents built into the top. Turn the vent open and allow your seedlings to experience fresh air with this method for a few days. Then remove the humidity dome altogether.
Another way to remove the humidity dome is to prop open the dome while still keeping it on the seed starter tray. This works the same way as domes with built-in vents to help introduce fresh and moving air to the seedlings. After a few days, you can remove the dome and begin hardening your plants to move outside.
Hardening Seedlings
Before moving your plants outdoors or to their final planting place, you have to help prepare them for the move. Transplant shock happens when a seedling or plant is moved to a new location.
The signs of transplant shock include: wilting, drooping leaves, dropping foliage, yellowing, and even death. To help prevent this from happening to your plants, you can ”harden” them. Hardening plants allows plants to adjust to their new environment before making the big move.
When the weather is warm, and the threat of frost is gone, you can begin bringing your seedlings outside. It is best to keep them out of direct sunlight. Slowly increase the amount of time the seedlings spend outdoors until they are outdoors all hours.
After they have adjusted to life outside, transfer them to their new homes. Use fresh, clean, and loose soil and water frequently until established. Do not fertilize for at least two weeks after transplanting to allow the seedlings time to establish themselves in their new space.
Final Thoughts
Starting seeds is an essential part of every gardener’s year. Whether you are starting seeds inside your home or in a greenhouse, humidity domes offer benefits in seed germination. These simple yet effective thin plastic lids help increase the number of seeds that germinate, but it also speeds up the timing.
Humidity domes also add some protection from predators. Knowing when to remove a humidity lid is important. A gardener will want to remove the lid once the seedlings have sprouted. The extra humidity is great for germination but not for seedlings and plants.
While humidity domes have been proven to work, they are not necessary to start seeds. Now that you know all the details about them, you can choose if humidity domes are right for your seed starting this season!


Hi there, my name is Allie and welcome to my blog; GareningWithAllie!
Much of what you see written here is just our personal experiences with gardening. Along with the content I write here, there is also a unique collection of gardening topics covered by some of our close friends. I hope you find everything you read here to be helpful, informative, and something that can make your gardening journey the most lovely experience ever! With that said, Happy Gardening!