Gardening is hard work, but it’s also very fun and rewarding. More and more people are implementing gardening into their lives. Many believe that you have to go out and spend large amounts of money on fancy and sophisticated garden beds and containers.
Most people begin gardening to save money and do not rely on grocery stores to have fresh produce, so why not make the growing process simpler and cheaper? You don’t need tiered gardening towers or expensive custom-built garden beds to have a successful garden. You can use several different methods to create your own cheap, DIY raised garden beds. Continue reading for some great ideas.
Galvanized Steel Containers

Check out your local farm and ranch supply store for galvanized tubs and containers. Often, people will use them for horse feed and water, but why not make them into a garden instead? They come in many different sizes and are reasonably priced, especially for how durable and good of quality they are.
You can usually find them for around $100. They typically come with a drainage plug in the bottom that can be removed, but if you can’t find one that does, then drill some holes. Layering sticks and rocks in the bottom before pouring the soil in will also help with proper drainage.
Simple Wood Frame
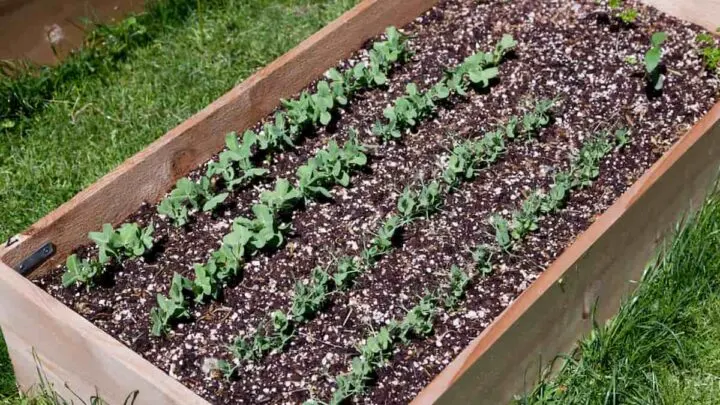
If you have some old wood boards lying around or access to them, this idea is for you. Besides the cost of soil and seeds, source your wood boards for free if you don’t already have them. If not, you can purchase some lumber from a store for under $30.
Nail or fasten your wood boards into a rectangle, making a frame. The frame can then be directly laid on the ground and filled with soil. It will naturally drain into the earth. If you are nervous about critters, purchase some cheap netting or mesh to keep them out. This is a quick, easy and cheap idea that almost anyone should be able to do.
Small Pots and Planters
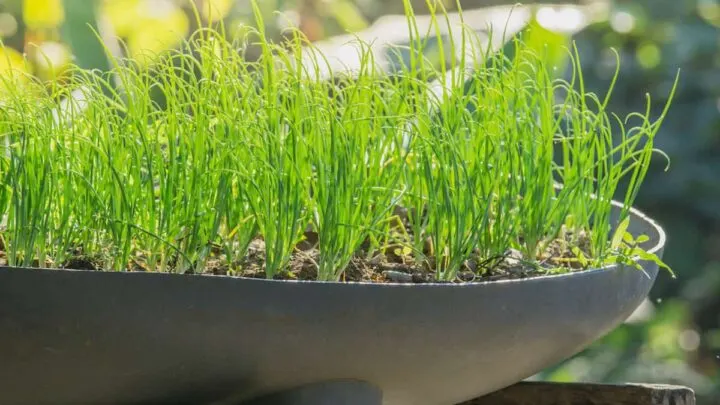
Instead of using large, expensive planters or raised beds, consider using small planters and containers from your local gardening store. A decent-sized pot usually costs around $10. You could purchase 10 for $100.
This allows you to separate your crops and grow a variety of 10 different things at once without the risk of your crops threatening one another. They will also already be prepped for proper drainage. Purchase potting soil and make sure you are only planting seeds that are container friendly.
Fun Wood Frames
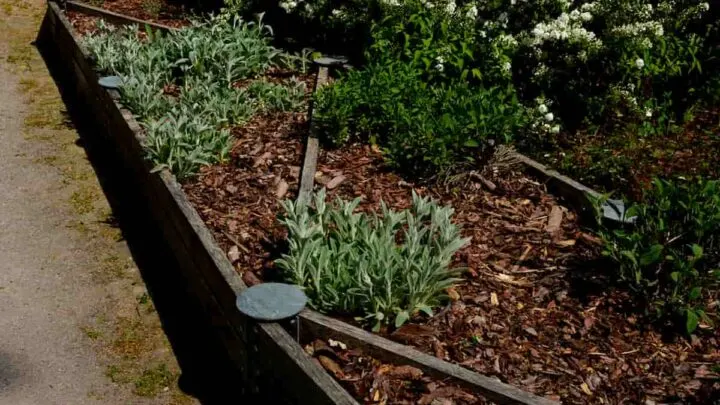
This is similar to the simple wood frame listed above, but instead of creating a rectangular or square shape, try creating a fun shape. This could include a triangle or an octagon. It will be more visually interesting and appealing in your yard.
If you can’t find any wood for free, you shouldn’t have to spend any more than $30 at your local hardware store. You have to fasten the wood together at the ends, and then you place your shaped frame on the ground and fill it with nutrient-dense soil. Once again, you can protect your plants with mesh or netting if you are worried about critters.
Thrifted Planters And Containers
Pretty much any receptacle can be used as a planter. Try browsing some local thrift stores to find various containers that are big enough to grow some of your favorite crops. Depending on the size and condition, they will be cheap at around probably $5 a container.
If you are lucky, they will be prepped with holes, but if not, make sure that their material can withstand holes being drilled into the bottom of them to allow for drainage. You will only need to purchase potting soil and seeds with this idea. This entire project should cost you no more than $50.
A Bench and Planters
Shop around locally to find yourself an old, used bench. They can be found at thrift stores, garage sales, or antique stores. You shouldn’t need to spend any more than $20 for a decent one. After finding a bench, purchase some containers or pots with drainage holes, either used or new. Use the bench as a way to keep your planters off the ground.
Get creative and turn it into an art project. You will have a raised garden, but you will also have a stylish statement piece in your yard. With potting soil, seeds and/or starts, the bench, and some containers, you should be able to keep the overall costs under $75.
Old Recycled Bathtubs
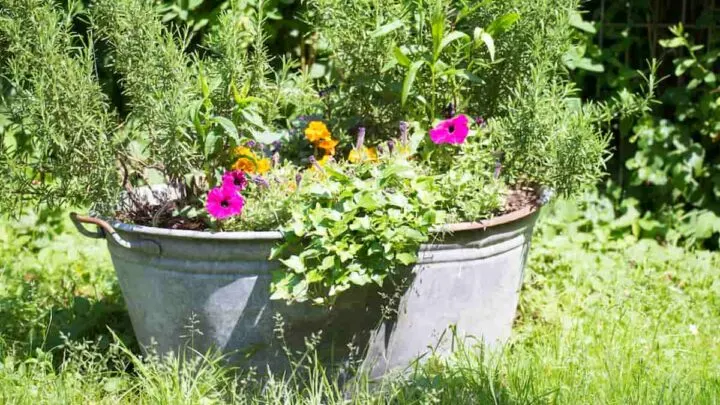
A lot of times, old bathtubs are thrown away after bathroom renovations. If you or a friend has plans to renovate their bathroom, don’t let them throw out their bathtub. You might be able to find one in decent shape at an old antique store or a junkyard. The drain that is already in them will be enough to release excess water. Layer some sticks and rocks in the bottom before pouring the soil in to help with drainage.
Shelving Units and Containers
Shelving units and small containers or pots are common items found in garage sales, thrift stores, and budget stores. Anchor a shelving unit to the ground or a wall outside and place the containers as planters on the shelving unit.
Make sure each container has drainage holes drilled in the bottom. Try to avoid an area that’s too out in the open so that it won’t blow over. Fill each container with potting soil and plant your crops. This project can easily be done for under $75.
Pallet Garden
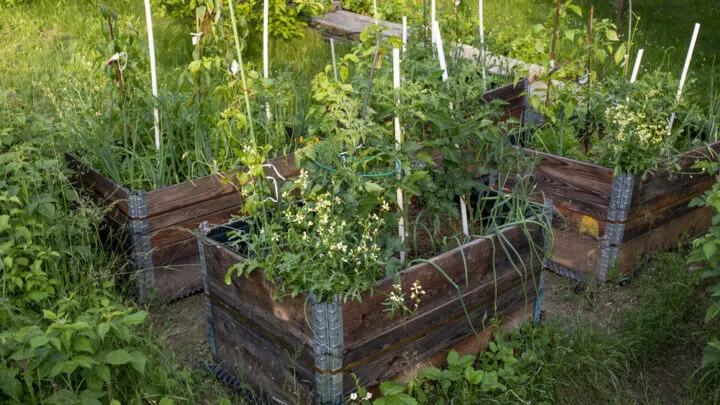
Pallets are a great option for a raised garden bed on a budget. It is common for stores and businesses to throw them out or give them away for free. They can be broken down with a crowbar or saw and formed into many different shaped gardens.
There are plenty of simple ideas and tutorials to follow online. Either line the bottom with wood or leave it open and place it directly on the ground. Leaving small gaps between the boards will help with drainage. All you have to do is fill them with adequate soil, and they will be good to grow.
Storage Tubs
Do you have any extra storage bins lying around your house? You know, the ones you store extra clothes and holiday decorations in? They make the perfect raised garden bed. If you don’t have any extras lying around, you can get several from a normal store or a used store as well. You shouldn’t have to spend over $40 for a decent amount of them.
They might not be the most stylish, but they will hold up outside and are large enough to grow many plants in. Simply poke or drill some holes in the bottom for drainage and layer some sticks in the bottom before dumping your soil in.
Crates
Look for old milk or storage crates at a garage sale, second-hand, or hardware store. If the holes in the crate are too large, then line them with plastic to prevent your soil from spilling out. Leave some holes open on the bottom for drainage.
You can plant a variety of crops in different crates while being able to trust their durability outdoors. You can fill them with potting soil and plant your starts or seeds directly in them. The cost of this DIY raised garden shouldn’t exceed $50.
Cinder Blocks
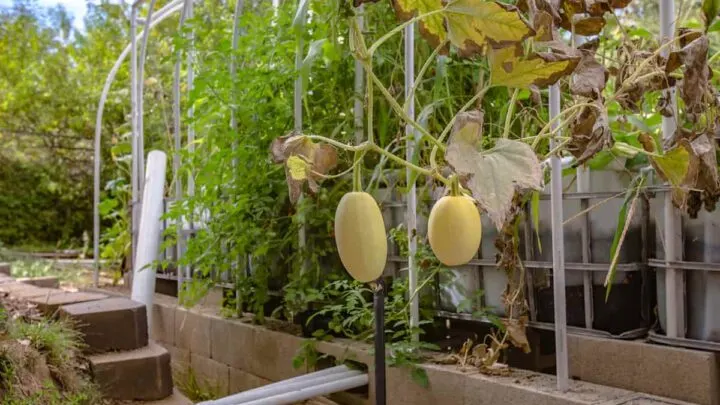
Often, there will be cinder blocks left at old construction sights, but if not, you can buy them at your local home and garden store. Place them side by side into a square formation. If you want your garden beds higher off the ground, then stack several layers of the block as high as you want to go. Use them to create a border that’s directly on the ground.
Make sure the openings of the cinder blocks are facing upward so that your soil doesn’t fall out the sides. Simply fill the cinder block frame with soil and plant your seeds or starts. Cinder blocks only cost around 2 dollars each.
Depending on how tall and wide you want your raised garden, this project will most likely be a minimum of $20 with soil expenses and then rise as more and more cinder blocks are purchased. It’s a flexible and cheap option.
Old Fencing Boards
If you know of anyone tearing down a fence or you are yourself, save the fencing boards. Use them as you would with the wood framing technique mentioned at the top of the list. Lay them out into whatever shape you want, and fasten them together to join the ends.
You can seal the bottom as long as you drill drainage holes or place the frame directly on the ground without a bottom. The excess water will then drain directly into the ground. This project could be free besides the soil costs. A good-sized bag of fertilized soil is typically around $20.
Hi there, my name is Allie and welcome to my blog; GareningWithAllie!
Much of what you see written here is just our personal experiences with gardening. Along with the content I write here, there is also a unique collection of gardening topics covered by some of our close friends. I hope you find everything you read here to be helpful, informative, and something that can make your gardening journey the most lovely experience ever! With that said, Happy Gardening!
